Close
- All categories
- Cannashop
 Headshop
 Smartshop
 Seedshop
 Our boxes
- All categories
- Language

- EUR
- Customer service
- Login
- Shipping throughout all of the EU!
- 2-5 working days delivery throughout Europe
- Only the best brands
At Stonedoos, we understand the value of quality and durability. This article is a comprehensive guide to help you cure your weed to the highest quality standards. In this guide, you'll discover how to get the most out of your product and extend its lifespan, sticking to the optimal ratios for temperature, humidity and lighting.
Weed Curing is an essential part of the harvesting process. Not only does it aid in preserving and enhancing the flavour, aroma and potency of your Weed, but it also enhances the storage life of the product. Curing promotes the breakdown of unwanted substances such as chlorophyll, resulting in a smoother and less pungent smoke.
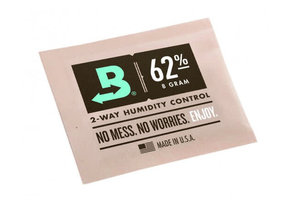
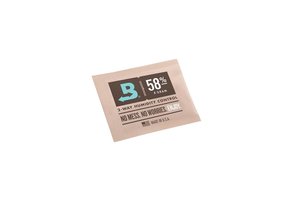
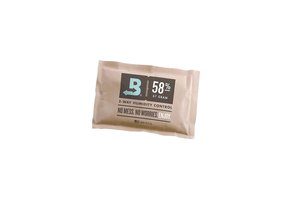
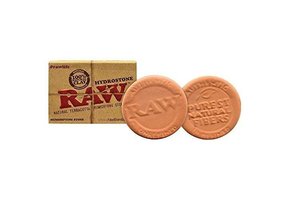
At Stonedoos, we have the knowledge and tools to guide you through this process. Our extensive range of products, such as the Integra Boost humidity control bags, can help you achieve and maintain optimal conditions while curing your weed.
The drying process is the first and most crucial step in weed curing. This process starts as soon as you harvest your cannabis plants. The goal is to slowly dry your Weed, usually over a period of 3 to 7 days. During this time, it is important to protect your buds from mould by maintaining the right temperature, humidity and ventilation.
A common mistake is drying cannabis too quickly, resulting in a loss of flavour, aroma and cannabinoids. At Stonedoos, we recommend drying buds slowly to maximise the curation process.
The ideal temperature for storing cannabis is a maximum of 21 degrees. Higher temperatures can lead to the growth of bacteria and moulds in your buds, while exposure to prolonged high temperatures can break down cannabinoids.
An important factor in drying and curing weed is humidity. Normally, the optimal relative humidity for maturing weed is between 59% and 63%. It is crucial to regulate both temperature and humidity during this process.
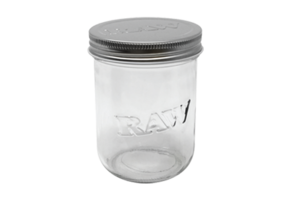
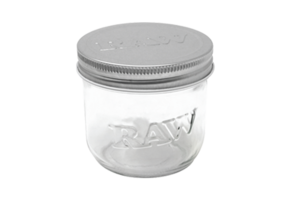
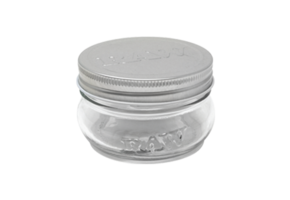
After the weed has dried sufficiently, it is time to pack the buds for curing. This is usually done in glass jars. Carefully place the buds in the jar and try to avoid crushing or damaging them. The pot should be about 3/4 full, but not so full that the buds are compressed.
It is important to open the pot once a day during the first week. This is called "burping" and provides a necessary gas exchange. It also allows you to check for signs of mould or moisture.
After about two Weed Cures, the quality of your Weed should have improved significantly. However, curing can take up to six months. During this period, make sure the jars are kept in a cool, dark place.
Using the Stonedoos, you can achieve consistent quality when curing your weed. We hope you find this guide useful and wish you good luck with your curing process.